Decals
Decals put grime, stains, cracks, posters and signs on a surface. They are drawn a hair closer to the camera than the wall behind them and blended over it, so they never flicker against the wall or against each other.
Placing a decal
-
Find the material
Look it up in the Materials panel, the search box at its top left helps.
-
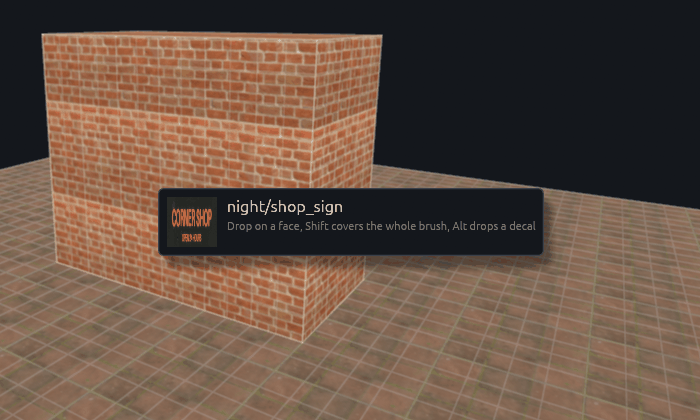
Hold Alt and drag it onto a face
The card next to the cursor reminds you that Alt drops a decal.
-
Let go
You should see the decal land where you dropped it as a one meter square, 32 by 32 units, facing out of the face.
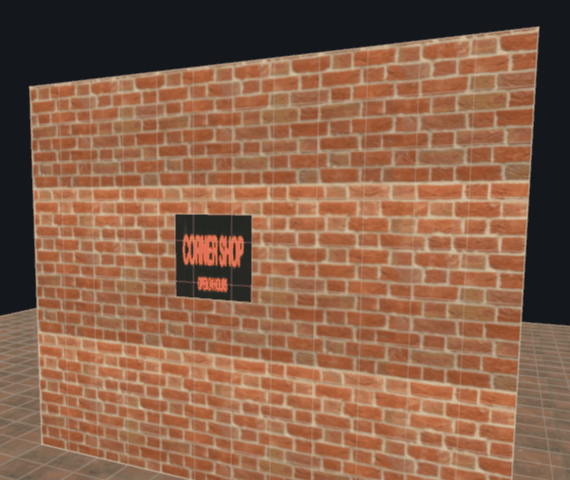
A decal is a normal mesh, so move, rotate and scale it like one. With it selected, the Inspector shows Decal (blended, double sided) ticked, and the position and size fields to place it exactly.

That same checkbox turns any thin mesh into a decal, for one with a custom outline.
Soft edges stay soft. For a hard cut, use a material in alpha scissor mode, see Transparency.
Warning
Do not fake decals with thin brushes a few millimeters off a wall. They flicker.
Projected decals
A regular decal is flat. For a stain that wraps over a step or a pipe, use a projected decal instead, an entity with
the trenchdot_decal.gd script like the demo's infodecal. Set its material key to a material name like
base/stain. It shines the material onto everything inside its box, props included, and costs more, so stick to
regular decals on flat surfaces.
MCP
Over the MCP server, place a decal with run_action create_decal, passing material, at, normal and
size as [width, height].