Getting started
Steps 1 to 3: First setup. If you already have a Godot project set up with TrenchDot, you may skip these.
Steps 4 and 5: Creating the first room in TrenchDot and seeing it in Godot.
What you need
- Godot 4.7 or newer, the .NET build if you want to write entities in C#
- The newest TrenchDot release
Ensure TrenchDot can see the Godot executable
Make sure TrenchDot can see your Godot install. To check if everything is detected correctly, go to File > Preferences… > Godot executable.
If TrenchDot found Godot by itself, the line beneath the input field already says "Using" and the path. If it says "Not found" instead, you need to find the executable on your disk.
For this, click the "…" button beside the input field
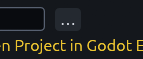
and find the executable starting with "Godot_v".
If you picked the correct executable it should say "Using" and the path you just picked.

1. Create a Project in Godot
Open Godot and click "Create" at the top left corner.
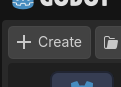
Pick a project name, for this tutorial it will be TrenchDotTest, and (optionally) select a folder where the project should live.
Then hit "Create".
2. Opening the Project within TrenchDot
Choose Godot > Open Godot Project…
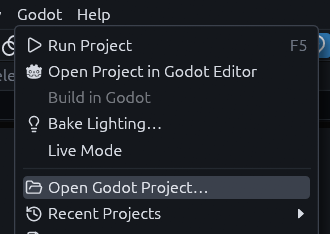
or the Open Godot Project… button at the top right of the toolbar
and pick the project folder or any folder inside it. The editor reopens it on the next start.
3. The Welcome Screen
Once TrenchDot detects that it's a new Godot project, it shows the Set up this project window.
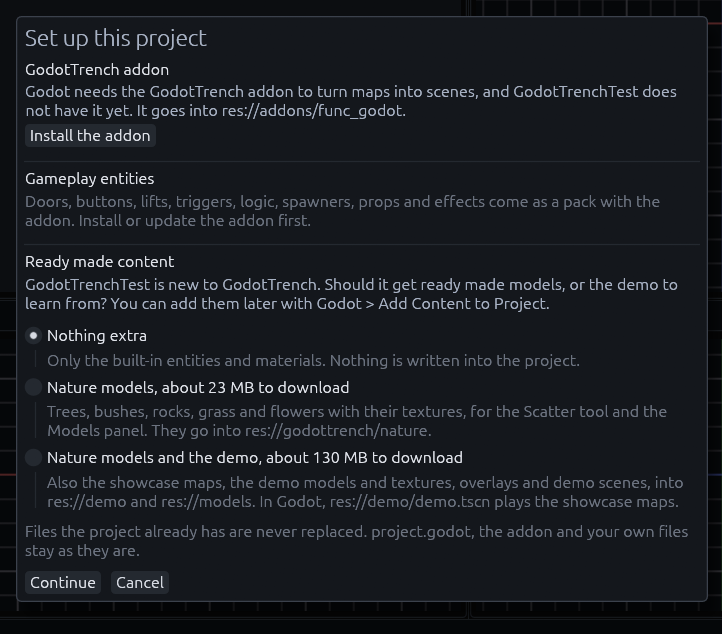
Here you can download the addon, which Godot needs to turn your maps into scenes and to talk to TrenchDot, and extra content if you want. You can of course start without anything.
Some bare bones entities are always included, like a simple info_player_start and light.
-
Install the Addon
Click the "Install the addon" button at the top to download TrenchDot's fork of FuncGodot into your project, this is crucial for TrenchDot. (Note: this pulls from GitHub releases. If you don't have internet access, download
func_godot-trenchdot-addon.zipfirst and extract it into the project root to install it by hand.)Once you did that, click "Enable the plugin" so Godot loads it. (Note: close Godot first if it has the project open, otherwise Godot writes its own copy of
project.godotback and the plugin stays off.) -
Install the Gameplay entities
Click Install Gameplay Entities below the addon.

Doors, buttons, lifts, triggers, props and spawners come with this pack. Without it Godot builds them as plain shapes that have no collision and do nothing. The door and trigger helpers in the Gameplay menu install the pack by themselves the first time you use them, but installing it now, before Godot first opens the project, means no scene is ever built without it.
-
(Optionally) Extra Content
TrenchDot has optional content you may preload: CC0 textures and models from Poly Haven and ambientCG, plus models made for TrenchDot. The licenses and a list of where everything is from are included.
If you do not want any extra content you can go with "Nothing extra", the minimal entities are still included.
-
Open the project in Godot once
Once the plugin is enabled, open the project in Godot (the window has an "Open Project in Godot Editor" button for that). The addon then creates a file called
trenchdot_game.jsonin the project root. This is where TrenchDot learns your textures and entities from, and TrenchDot loads it within a second.The addon writes it again whenever files change, so there is no need to edit it by hand. Until it exists the status bar says there is no
trenchdot_game.json, and the editor offers the core entities, plus the gameplay entities if you installed them.
To add entities of your own, see Custom entities in GDScript and C# entities. Project setup explains the resources that list them.
4. Build a room
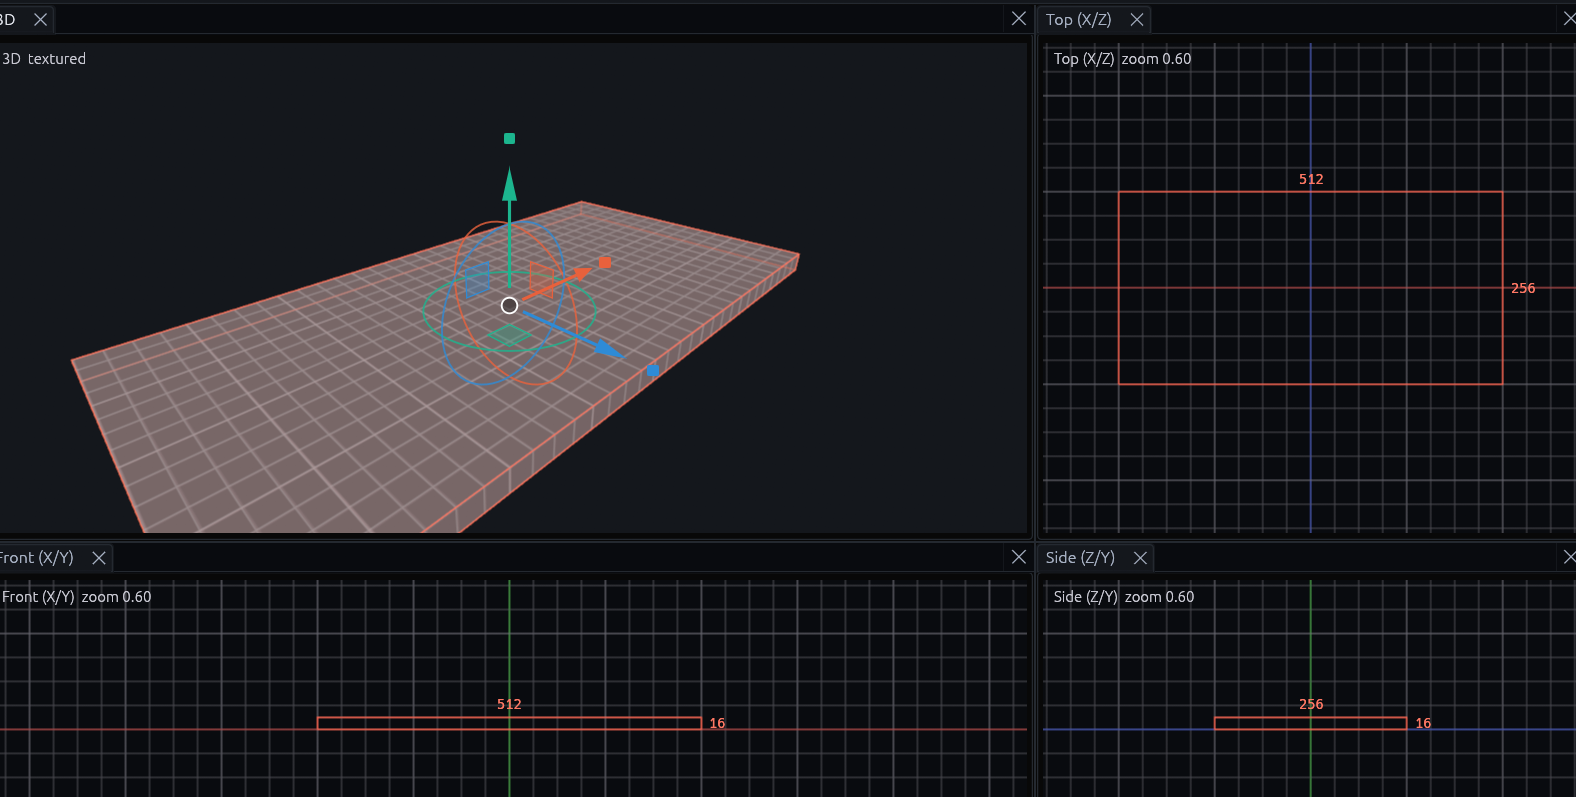
The editor has 4 main views: a 3D view you can fly around just like in Godot, and 3 wireframe views from the top, front and side.
Brushes and operations depend on the grid size. In the toolbar you can set your grid size (smaller is finer).
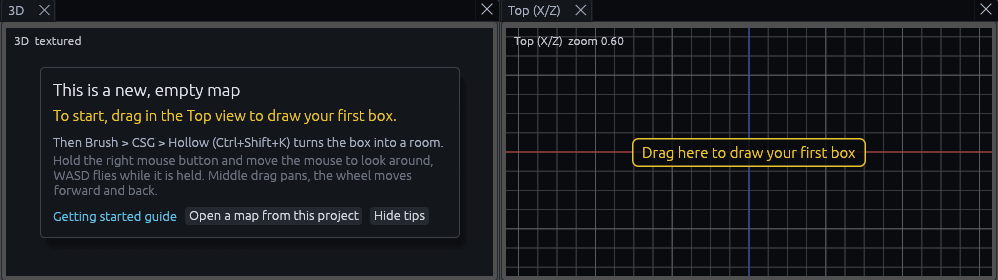
On an empty level you will be shown a small info text explaining how to draw. You can either hide it with "Hide tips" or just start drawing, it goes away once the map has something in it.
-
Draw your first box
With the Select tool (Q), drag on empty space in any view. You should see a box being drawn. While holding your left click down, move the mouse to shape a rect.
-
Add Height
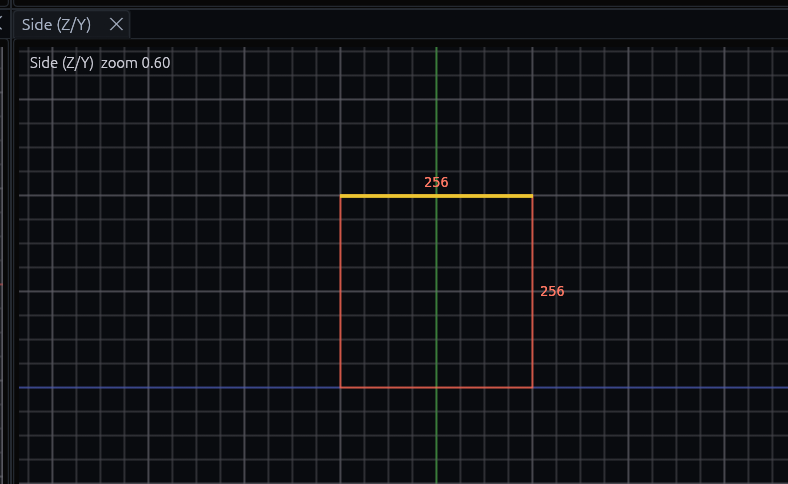
In the Side view, hold your mouse over the top edge of the box until it turns yellow, hold down the left click, then move your mouse up until the box is 256 units tall.
-
Making it Hollow
Press Ctrl+Shift+K, or use the Hollow button in the toolbar.

The box is now split into walls, a floor and a ceiling, this is optimal if you want to make a smaller room or corridor. Now, using the fly controls (hold the right mouse button and use WASD), fly into the hollow box.
-
Cutting a doorway
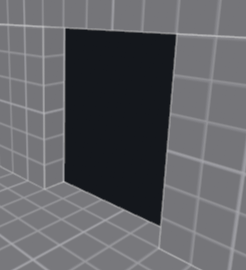
Using Escape you can deselect the selected brushes. Once nothing is selected, draw a smaller vertical rect within the box in the Front view, shaped like a doorway.
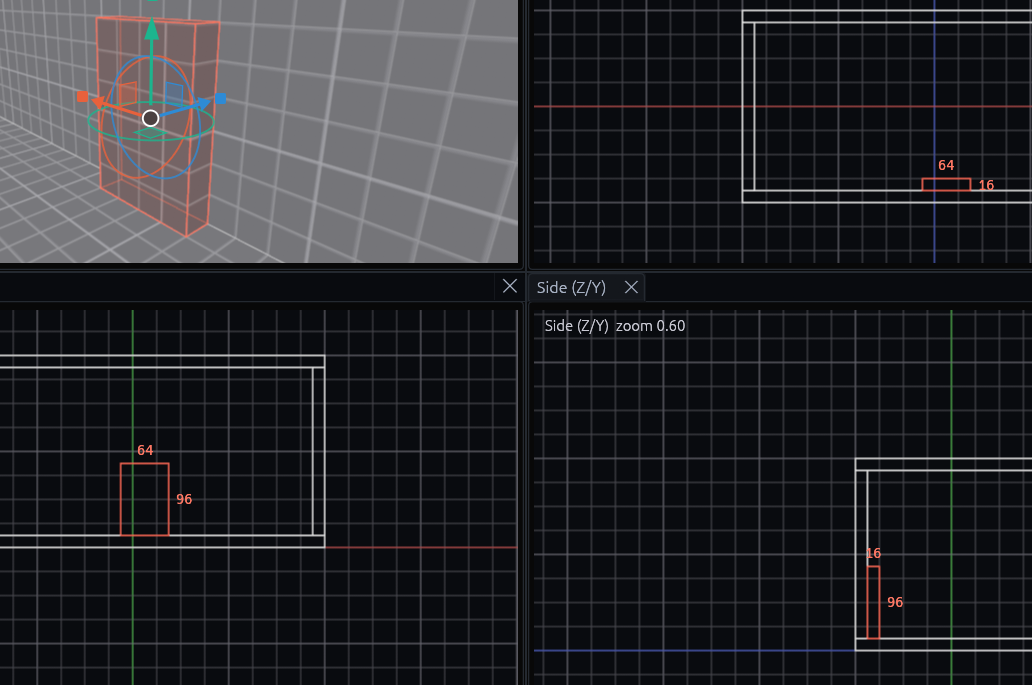
Then in the Side view extend one side of the door brush so it has a depth, all the way through the wall.
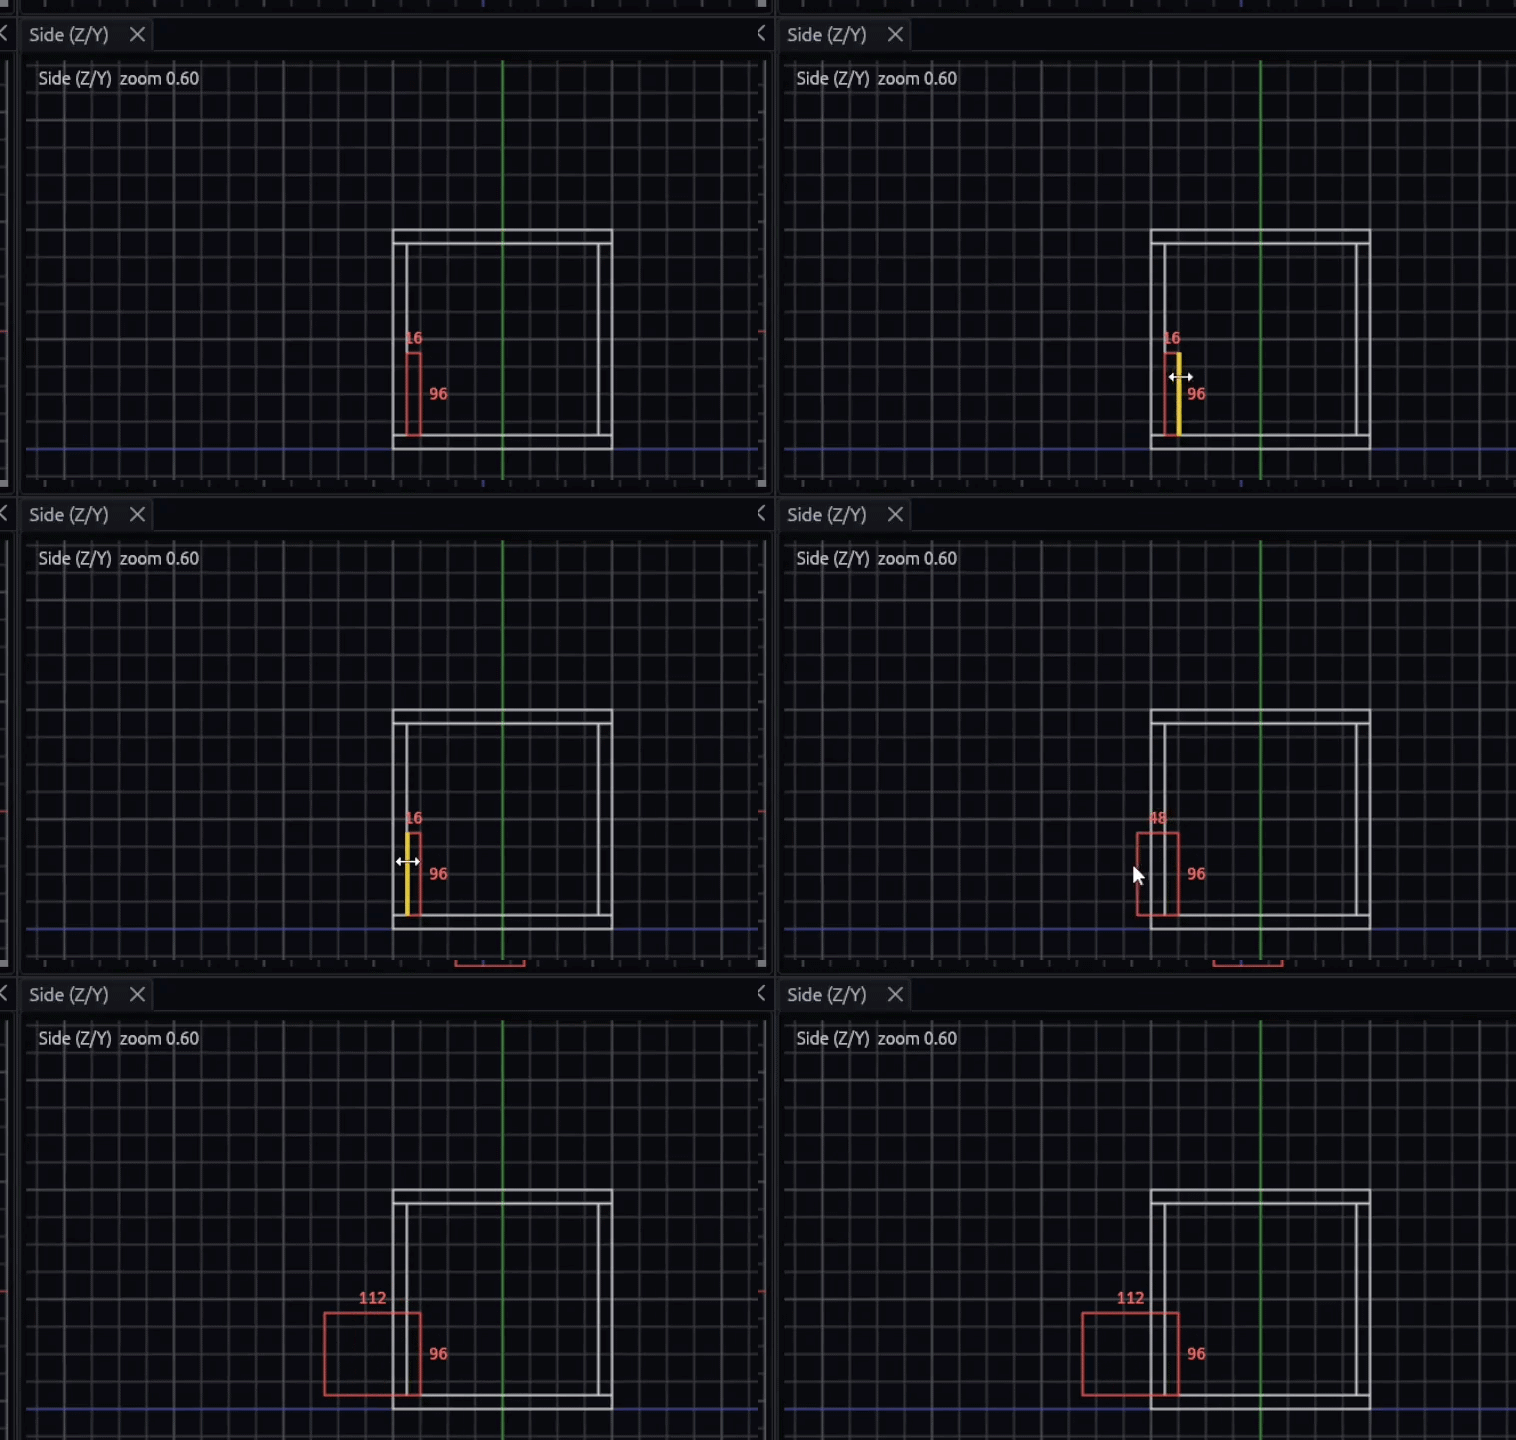
Now, with the brush selected, hit Ctrl+K or use the Subtract button in the toolbar.
You should see the brush vanish, and the doorway is cut out of the wall.
-
Texture it
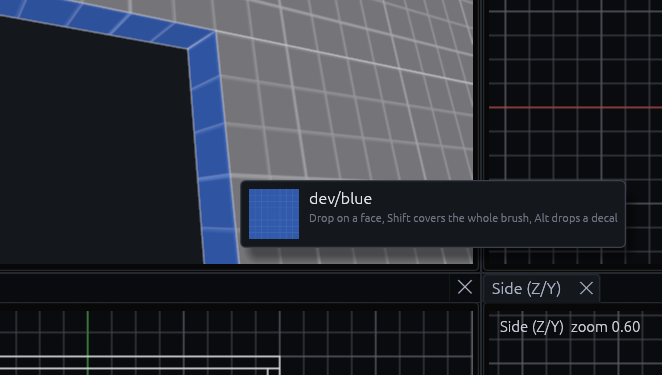
You should have 5 included textures for prototyping. To apply a texture to just one face (e.g. the door frame), drag the texture from the Materials tab onto the face (hold Shift to cover the whole brush).
-
Saving the Map
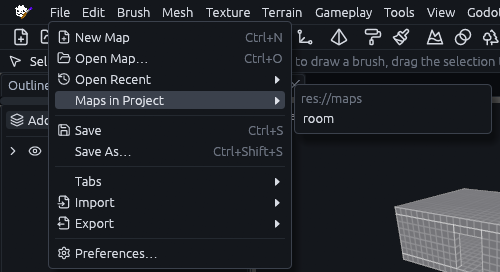
To see the changes in Godot we have to save the map. Press Ctrl+S, or use File > Save.
The save dialog opens in your Godot project folder. Save it anywhere inside the project, a
mapsfolder in the project root keeps things tidy, so for exampleres://maps/room.tdm. (Note: the folder name is up to you, but keep the map inside the project, so Godot can load it by itsres://path.)Once saved, it shows up under File > Maps in Project.
5. See it in Godot
In Godot, a level is a scene: a tree of nodes, saved as a .tscn file, where each node is one thing such as a mesh, a
light or a camera. Godot writes paths inside the project with res://, so res://maps/room.tdm is the file
maps/room.tdm in your project folder. The map is turned into nodes by one node from the addon, FuncGodotMap.
- In the Godot editor, choose Scene > New Scene and click 3D Scene in the Scene panel on the left.
- Press Ctrl+A (Add Child Node), search for
FuncGodotMapand add it. - With the new node selected, set Local Map File to your
.tdmin Godot's own Inspector, the panel on the right of the Godot editor. It works like the Inspector in TrenchDot but belongs to Godot. - Press Build Map at the top of that Inspector, then save the scene with Ctrl+S.
Brushes become meshes with collision and entities become nodes with their scripts, saved with the scene. Building maps explains the node's other settings. If an entity comes out as a bare mesh without collision, TrenchDot's status bar says why, see Entities that do nothing.
Leave that scene open in Godot and every save in TrenchDot rebuilds it, straight away while its tab is the current one, or when you switch back to it. Save the scene in Godot to keep the result. If a save does not rebuild, the status bar says why, see Rebuild on save.
Warning
A build deletes the children of the FuncGodotMap first. Put your own nodes next to the map node, or in
an overlay.
Try the demo project
The repository's godot folder, also in the release as trenchdot-demo-project.zip, is a project with the addon
installed. Its main scene plays the showcase maps, which are saved in godot/demo/maps/showcase. Open the project in
the editor and pick one under File > Maps in Project to see how a finished map is put together.
The demo choice of Godot > Add Content to Project… puts the same maps and scenes into your own project. In Godot,
open res://demo/demo.tscn and press F6 to play them. Opened in TrenchDot from your project they show without their
textures, because they use the demo's texture folder res://demo/textures rather than your project's. The demo project
shows them as they were built.
| Key | Action |
|---|---|
| WASD, Space, Shift | Walk, jump, run |
| E | Use doors and buttons |
| 1 to 5 | Switch between the showcase maps |
| F3 | Show the I/O debug overlay, a log of every input and output as it fires, with trigger volumes drawn in |
Next
To make the room do something, read How entity I/O works and build Button opens a door.
Your own player needs two things for the pack's entities. Triggers only react to bodies in the Godot group player on
physics layer 1, so put your player there. Doors and buttons move when your player code calls use() on the one it
looks at, see Let the player press it.