Texturing
Applying materials
Your textures live in the Materials panel, at the bottom of the window under the views. The search box at its top left filters them by name, Used in map and Favorites narrow the list down, and the slider sets the thumbnail size.
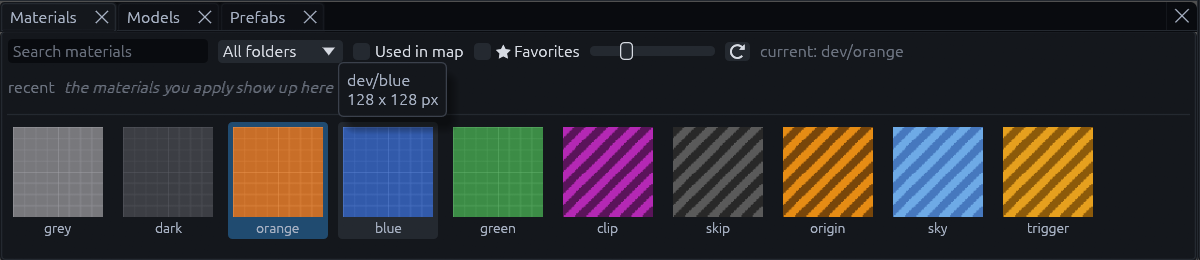
| Do this | Result |
|---|---|
| Click a thumbnail | Apply it to the selection, and use it for new brushes |
| Drag a thumbnail onto a face | Apply it to that face |
| Shift while dropping | Apply it to the whole brush or mesh |
| Alt while dropping | Place it as a decal |
While you drag, a little card next to the cursor reminds you of the modifiers, and the face changes as soon as you let go.
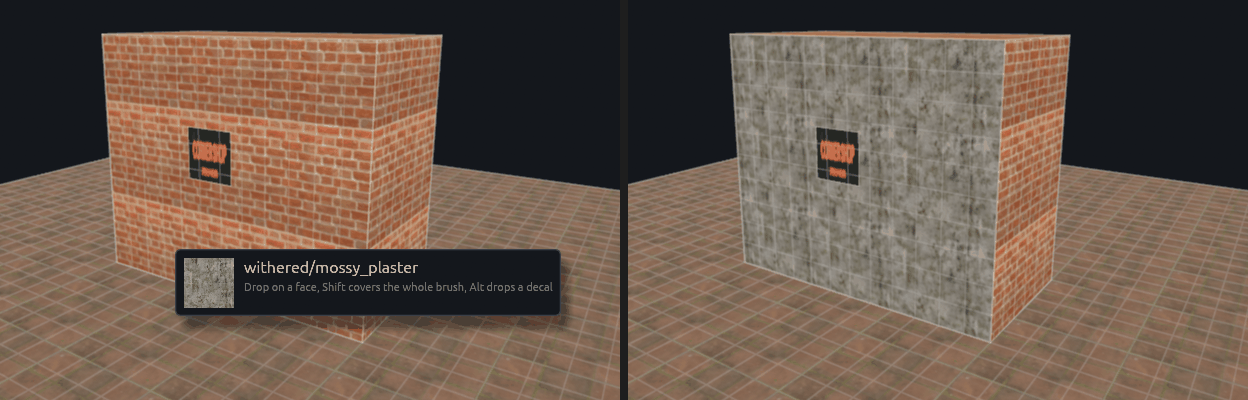
To texture one face without dragging, Shift+click it in a view first, then click the thumbnail. Ctrl+Shift+click adds or removes more faces.
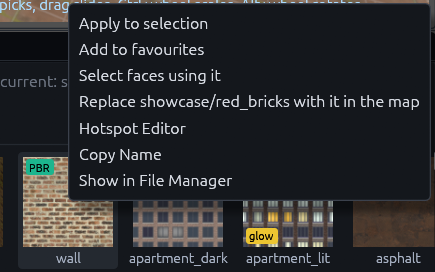
Right click a thumbnail for more: add it to your favourites, select the faces that use it, swap it in for the current material across the whole map, open the hotspot editor, or Show in File Manager to open the folder of its texture with the file selected, for example to edit it.
Dropping a material on a terrain sets a terrain layer instead, see Terrain layers.
UV lock (Ctrl+Shift+U) is on by default, so textures stay attached to a brush while you move it.
Built in colors
The Materials panel always offers dev/grey, dev/dark, dev/orange, dev/blue and dev/green, grid textures
for blocking out a level before it has art. Color coding rooms with them survives the build, since the addon ships the
same grids and Godot uses them when the project has no texture of that name. A texture of your own at, for example,
res://textures/dev/grey.png replaces one.
Tool textures
The editor draws tool textures see-through with stripes, and the Godot build gives them no visual mesh. Every texture
in the special/, tools/ or td/ folder counts, and so does any texture named after one of the tools below, such as
common/caulk.
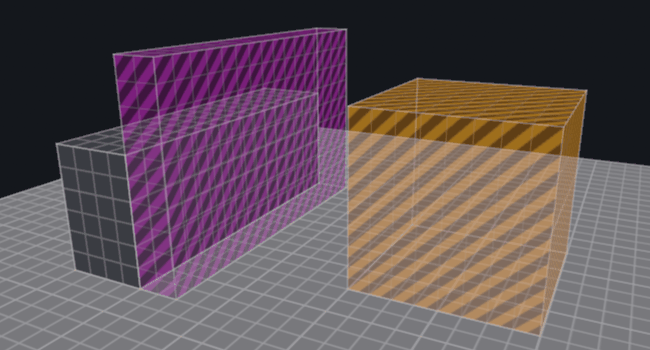
| Texture | In Godot |
|---|---|
special/clip, playerclip, nodraw, caulk, trigger, sky and any other tool |
Collides but draws nothing. A trigger keeps its trigger shape |
special/skip, origin, hint, hintskip, null, areaportal |
Builds nothing at all. A brush of only these faces does not collide |
special/occluder |
Draws nothing and does not hide neighbors, but adds to the occluder of an entity that builds one, like func_geo |
The map settings name the clip, skip, origin and sky textures, special/clip and so on by default. An origin brush only
sets its entity's origin with the texture the map settings name.
The Texture tool
A face's alignment is where its texture sits on it: the offset, scale and rotation. Press Shift+T for the Texture tool, which edits it in place, like Hammer's face edit mode. Click a face to select it. It is tinted red and shows a blue box around one repeat of the texture, plus two short lines for the U and V directions. The face under the cursor gets a yellow outline.
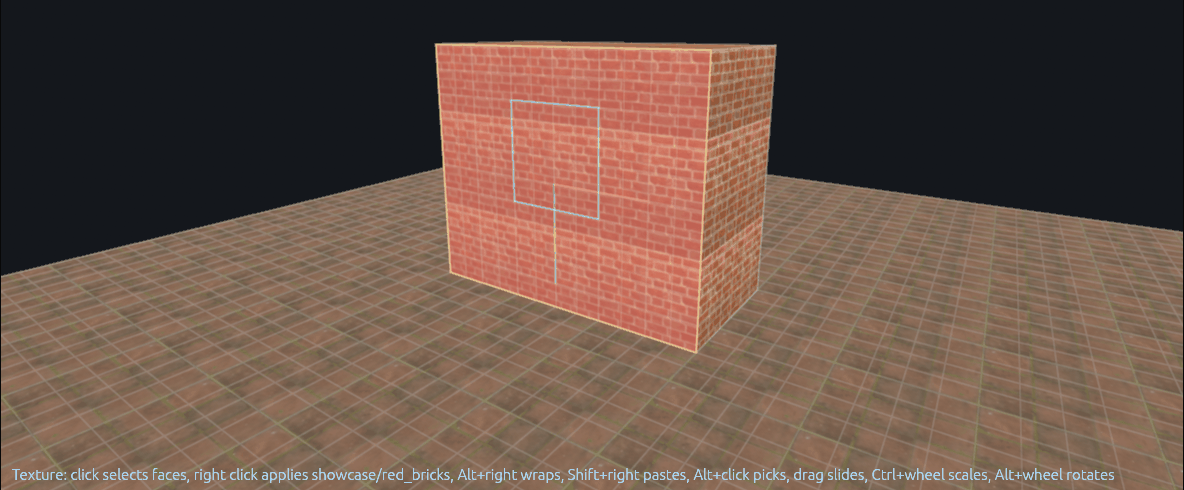
| Input | Result |
|---|---|
| Click, Ctrl+click | Click selects a face, Ctrl+click adds or removes one |
| Drag a selected face | Slide the texture, the pixel under the cursor stays under it |
| Arrow keys | Slide by the grid size in pixels, with Shift by one pixel |
| Ctrl+wheel | Scale by 2, with Shift in fine steps |
| Alt+wheel | Rotate by 15°, with Shift by 1° |
| Alt+click | Pick up a face's material and alignment |
| Right click | Apply the current material |
| Ctrl+right click | Apply it and reset the alignment |
| Shift+right click | Paste the picked material and alignment |
| Alt+right click | Apply the current material, continuing the selected face's alignment across the edge |
Alt+right click is how a texture, like a trim or a row of bricks, runs cleanly around a corner.
The tool options bar at the top has the Justify buttons. Left, Right, Top, Bottom and Center push the texture to that side of the face, Fit stretches it over the face, Fit W and Fit H only across or only up. With Treat as One ticked they work on all selected faces as one area, so one texture spans all of them. Align to View projects the texture along the 3D camera.

If you prefer numbers, the Inspector shows the same face under Alignment, with offset, scale and rotation fields and buttons to flip, turn and reset it. Texture Tools below it sets the texel density and copies alignment from face to face.
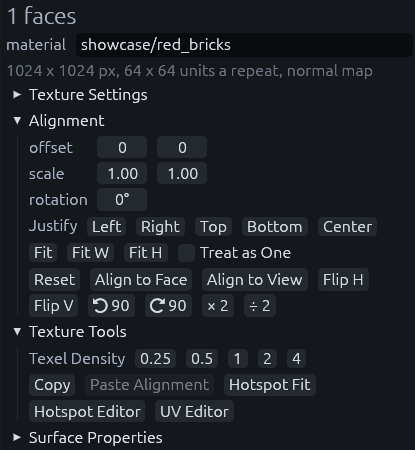
For faces with explicit UVs, and for meshes, use the UV Editor.
Texture scale
By default one texture pixel covers one map unit, so a 64 pixel texture repeats every two meters. That suits low
resolution textures, but a 1024 pixel photo would stretch over 32 meters. Set metadata/texture_size on the material to
the world size one repeat should cover, see Texture size. The Inspector line under
the material name tells you what a face got, like "1024 x 1024 px, 64 x 64 units a repeat".
To set it for one map only, or to make a texture run on seamlessly across every face, use Texture Settings in the Inspector. Its repeat size wins over the material's.
Hotspots
Hotspots let one trim sheet texture lots of differently shaped faces. You mark its rectangles once, then TrenchDot picks the right one for each face.
-
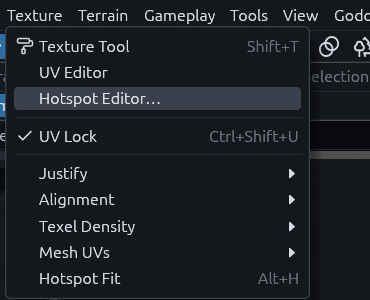
Right click the trim sheet in the Materials panel and choose Hotspot Editor. Texture > Hotspot Editor… opens it too, for the material of the selected face or else the current one.
-
Drag on the texture to draw a rectangle, or set a grid and click Split into grid. Drag a rectangle to move it, its corner handle to resize it, right click deletes it.
- Click Save. The rectangles go into
<texture>.hotspots.jsonnext to the texture file. - Select the faces and use Texture > Hotspot Fit (Alt+H), or Apply to selection in the editor.
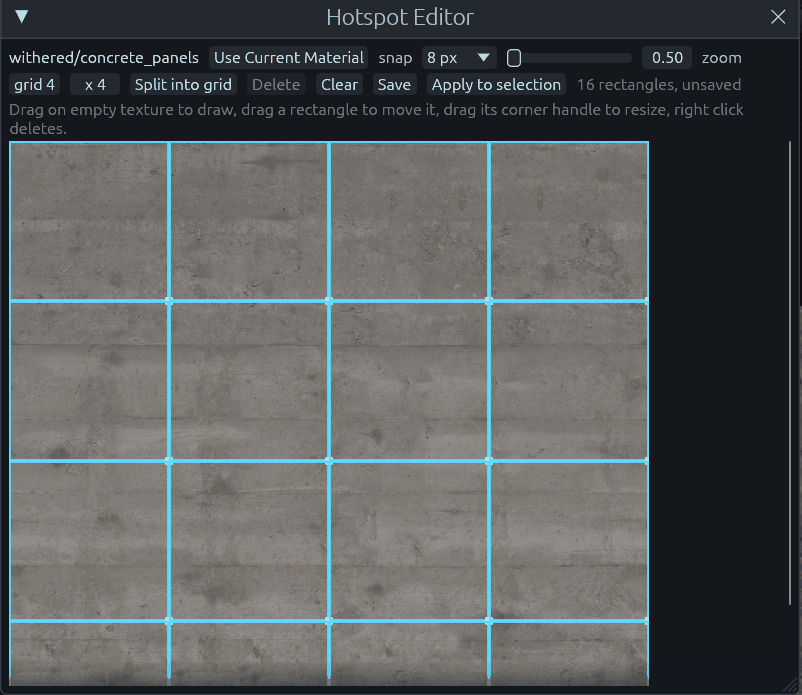
Hotspot Fit gives each face the rectangle whose shape matches it best, preferring one that keeps the texture close to its normal scale.
Vertex paint
The Paint tool (P) paints vertex colors onto brush faces, for dirt, tint and fake lighting. Pick the color in the tool options bar, next to the brush radius and strength, then drag over the faces. It paints the selected brushes, or every brush when nothing is selected. Ctrl+wheel resizes the brush.
